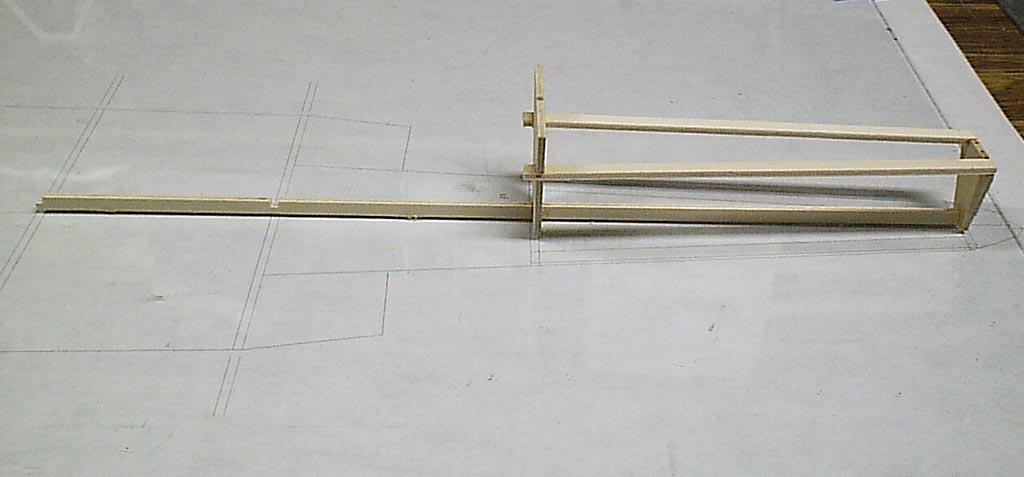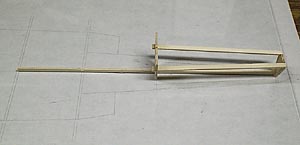
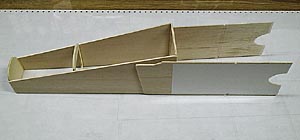
| The
rear fuselage is built upside down over the plans. |
|
| Follow
the cut pieces for proper spacing between F9 and F10. |
|

| Begin
construction of the nose section by marking the bulkhead locations
on the inside of FS-1 and FS2. Besure to mark the inside of
the right and left sides. |
|
| Sand
a small radius on the splitter plate section of FS-2 and a
bevel in the rear section where the sides will be joined to
form the inner portion of the intakes. |
|
| Glue
the bulkheads F-1, F-2, and F-3 to the FS-1 fuselage sections
on the locations you marked earlier. |
|
| FS-2
fuselage sections have now been glued to the nose section.
Note that the Monokote has be ironed in place and will form
the inner finish of the intakes. |
|
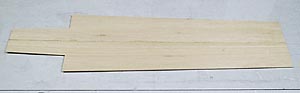
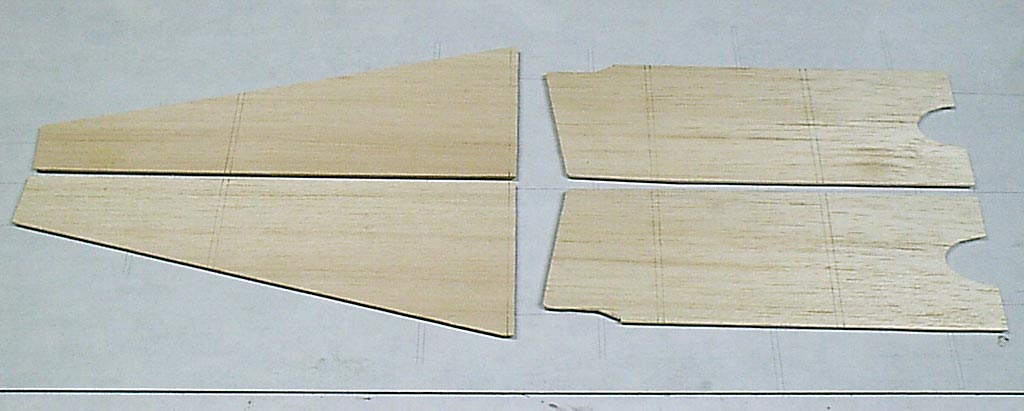
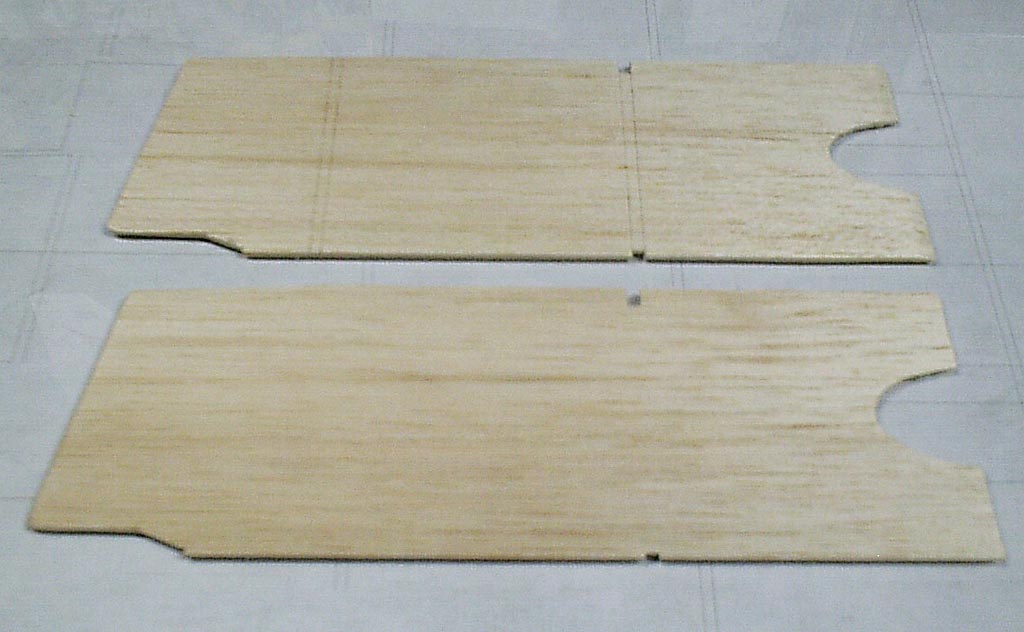
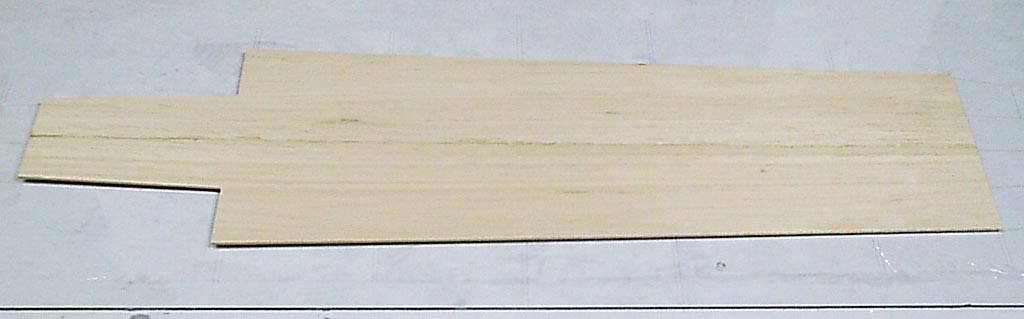
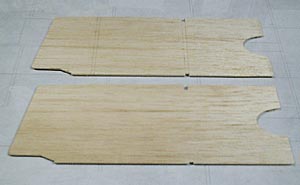
| Over
the plans, join the two sides of the fuselage bottom. |
|

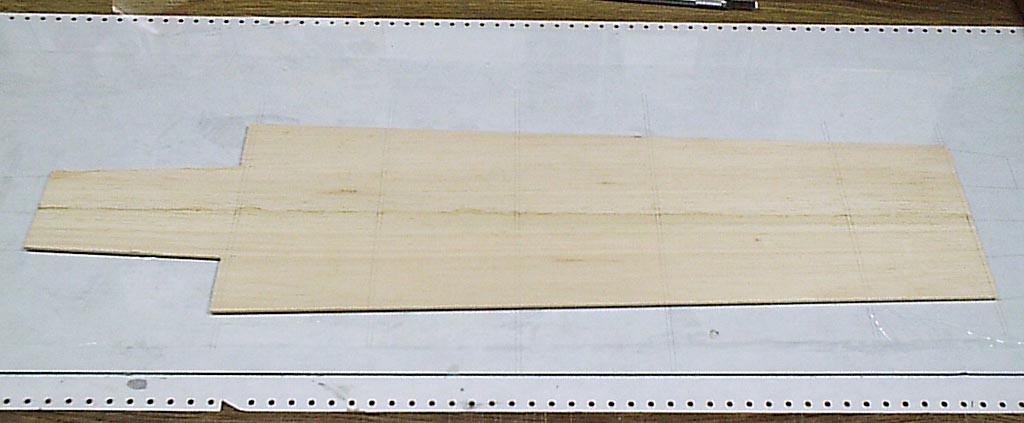
| Mark
the bulkhead location on the fuselage bottom. |
|

| Locate
F-4 to the intake section of the forward fuselage before gluing
the nose section to the fuselage bottom. Do not glue to the
fuselage bottom at this time. |
|
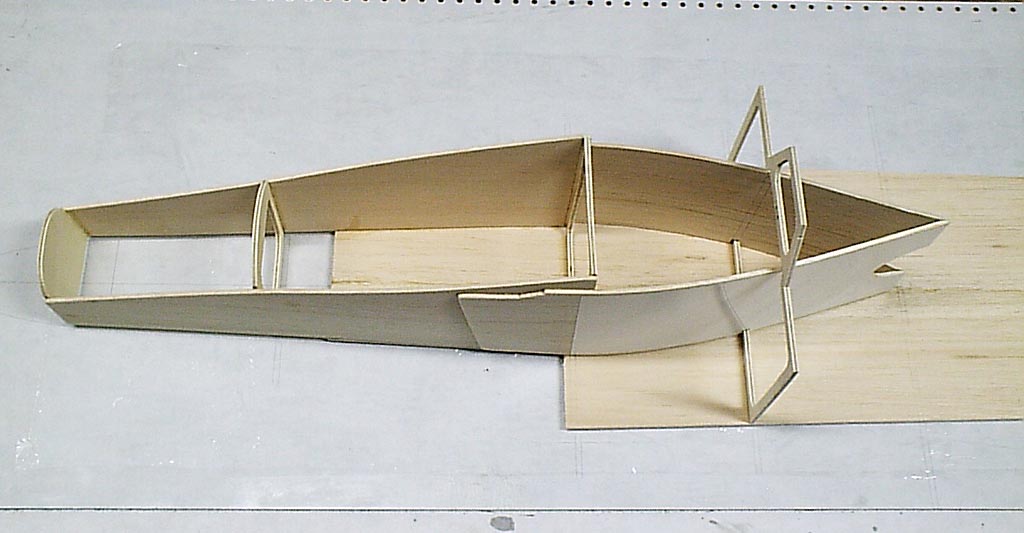
| FS-2
sides have been glued together to form the inner portion of
the bi-furicated inlet. |
|

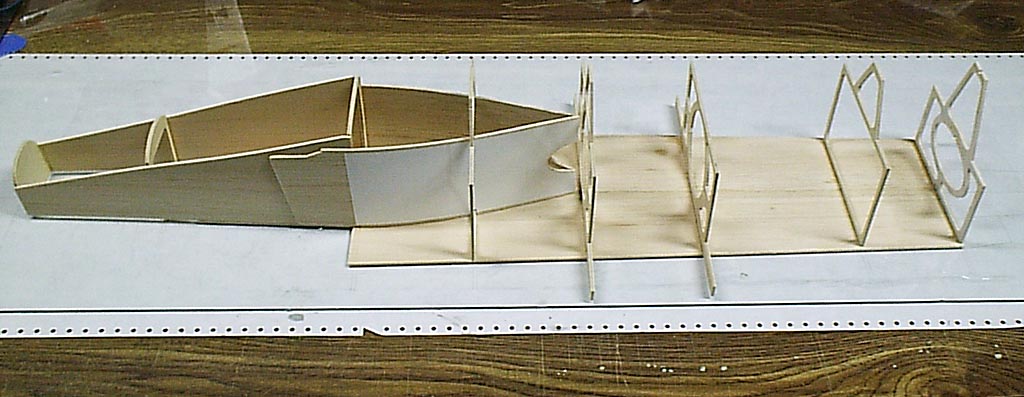
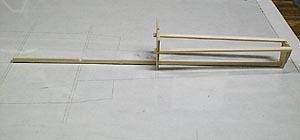
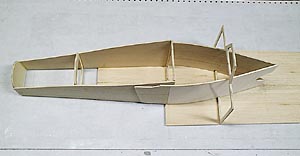
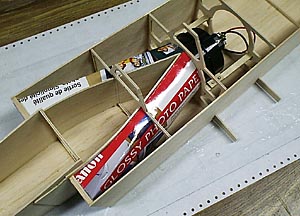
| Using
a square, tack glue the bulkheads F-4 through F-8 to the fuselage
bottom. |
|
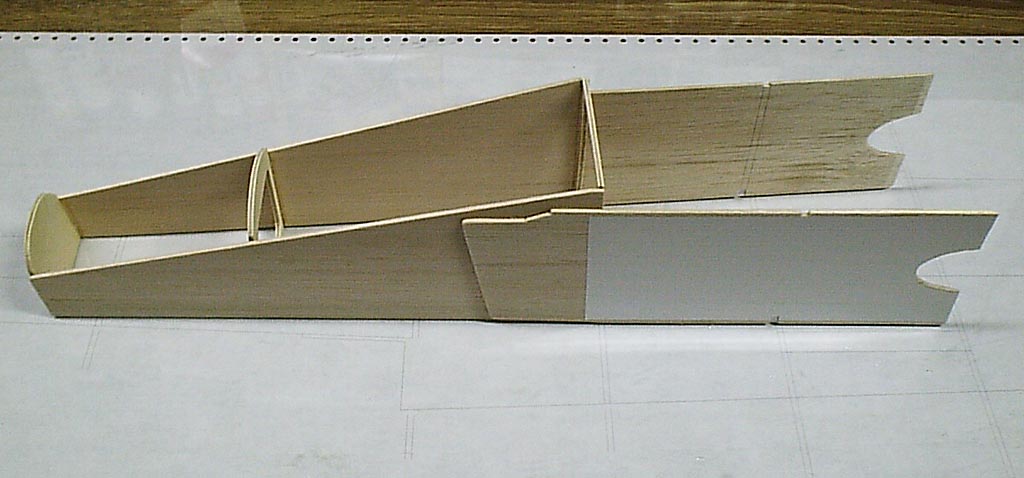
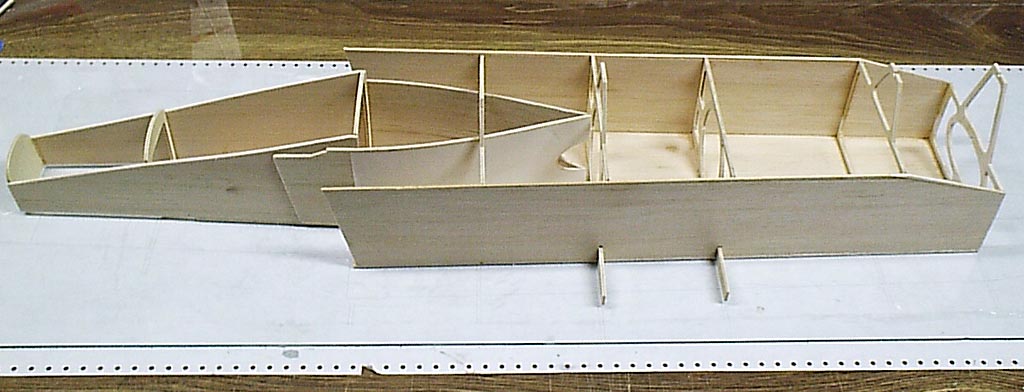
| Fit
the FS-3 sides to the fuselage bottom. Tack glue FS-3 side
to the bottom first. After the sides have been glued, again
using your square, tack glue the sides to the bulkheads. |
|
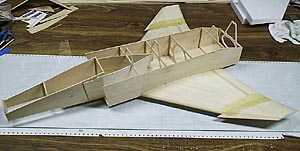
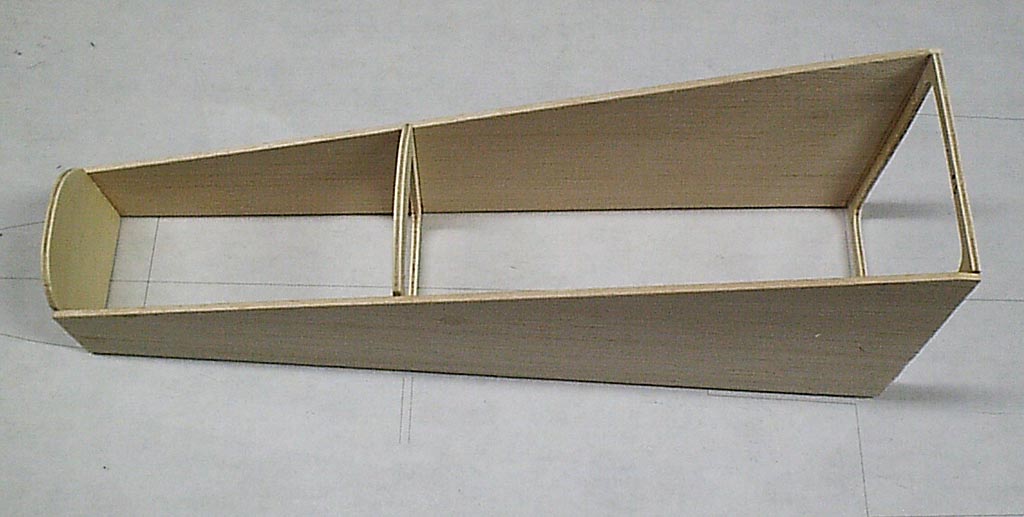
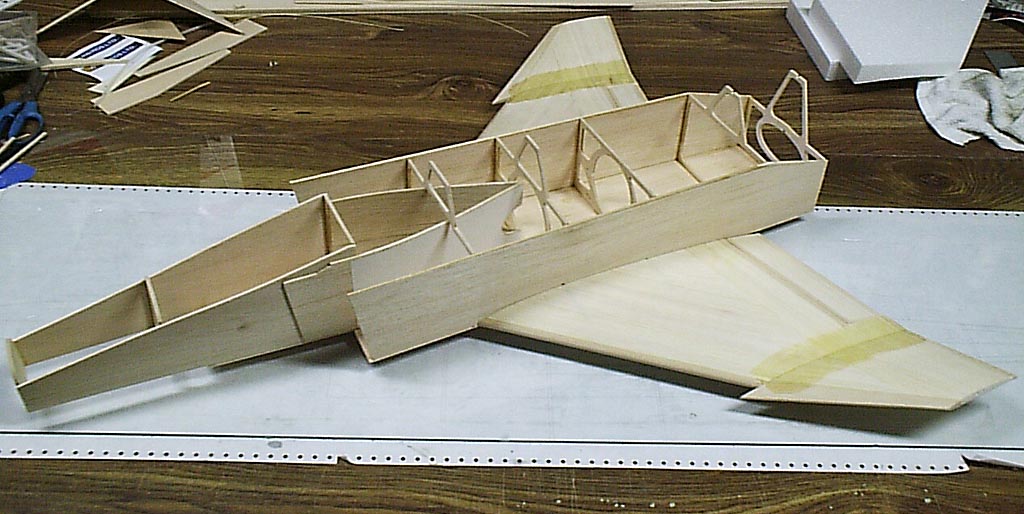
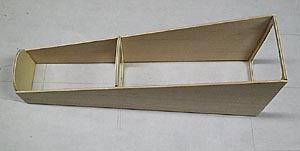
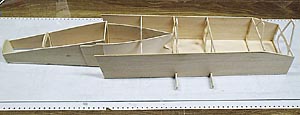
| The
fuselage can now be pulled up from the building board. Add
glue fillets to the glue joints previously tack glued. Trial
fit the wings to the fuselage. The structure seen here weights
8 ounces. |
|
|